Angles 2A
Overview
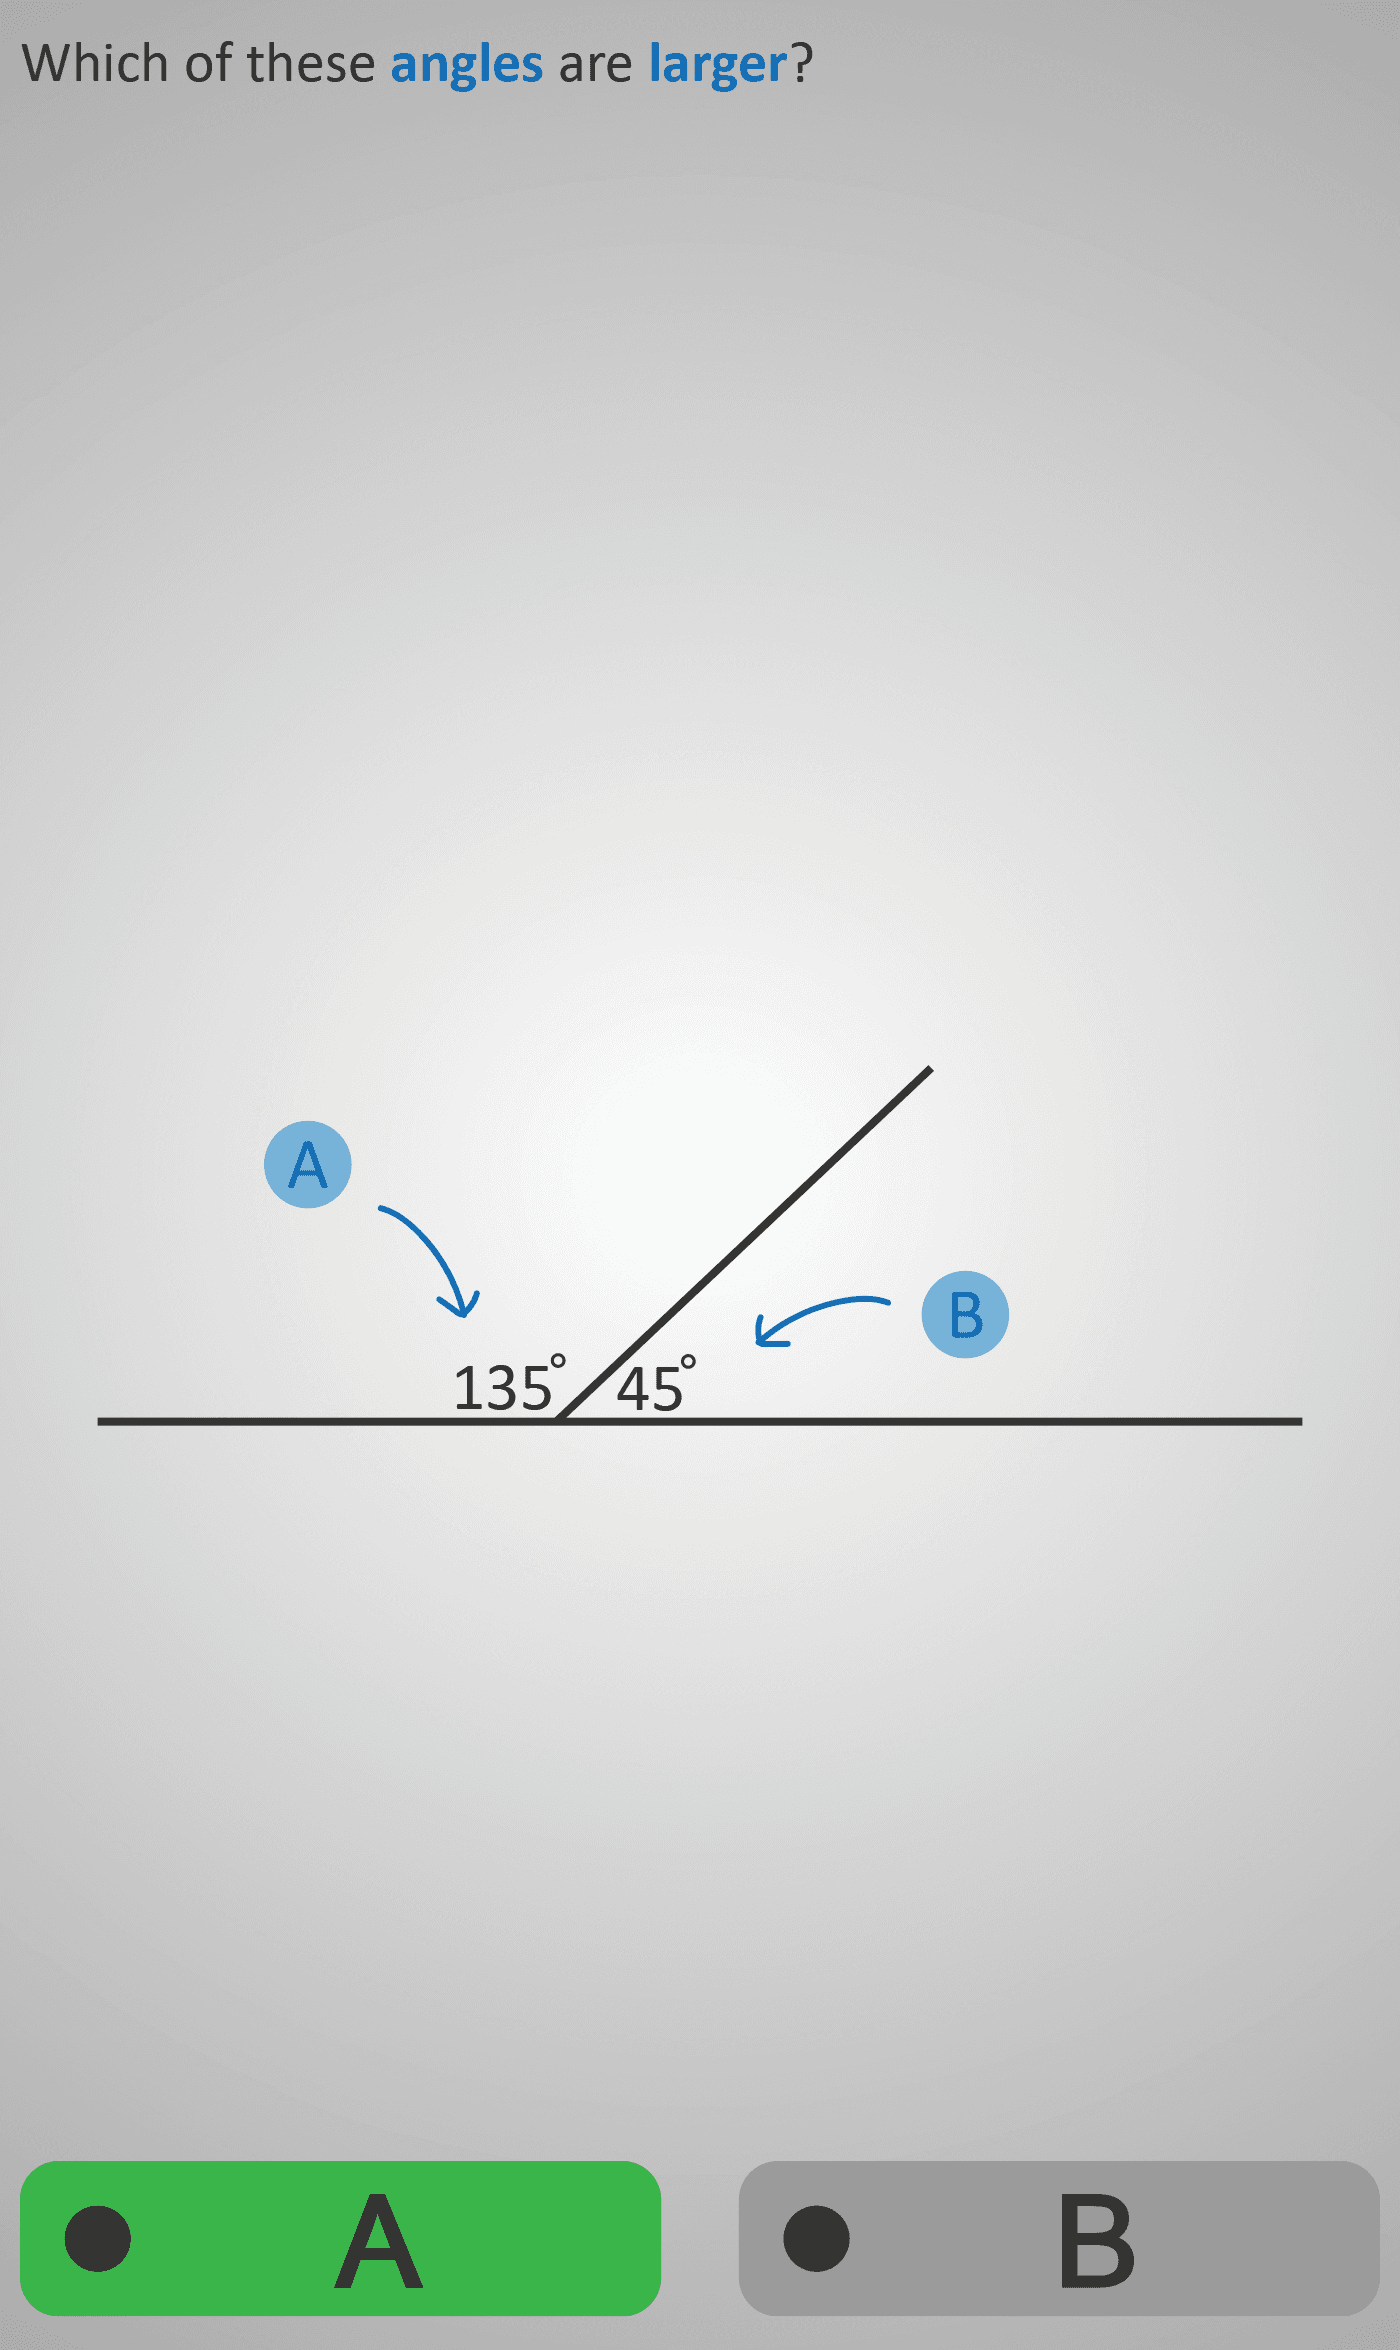
This Phlow introduces students to comparing the sizes of angles. Learners are shown pairs of angles with their measures labelled (e.g., 135° vs 45°, 140° vs 40°) and are asked to decide which is larger or smaller. The exercises use simple diagrams with intersecting or adjacent lines, highlighting two angles at a time. Students select between options A and B, with the chosen angle clearly marked.
The questions alternate between identifying the larger angle and identifying the smaller angle, helping students to:
- Recognise the difference between acute, obtuse, and reflex angles.
- Understand that the numerical measure of an angle determines its size.
- Build fluency in comparing angles quickly and accurately.
By the end of Angles 2A, students gain confidence in visually comparing angles and matching their answers with angle measures, laying the groundwork for reasoning about angle properties in more complex diagrams.
Prerequisite Knowledge Required
- Familiarity with what an angle represents and how it is formed (see Angles 1A).
- Basic recognition of acute (less than 90°), right (90°), and obtuse (greater than 90°) angles.
- Understanding that the degree (°) symbol measures angle size.
Main Category
Geometry – Angles and Measurement
Estimated Completion Time
Approx 6-10 seconds per question. 20 questions total. Total time: 2-4 minute.
Cognitive Load / Step Size
Low to moderate — each question isolates a single comparison, gradually varying the angle size and orientation. Step size is appropriate for consolidating understanding without introducing new terminology or procedures.
Language & Literacy Demand
Low — questions are short (“Which angle is larger?” / “Which is smaller?”). Minimal text reliance, supported by strong visual cues.
Clarity & Design
High — angles are shown in simple, uncluttered diagrams with clear markings and labels (e.g., 45°, 135°). Alternating question formats (larger/smaller) sustain attention and avoid repetitive clicking.
Curriculum Alignment
Aligns with the Geometry and Trigonometry strand of the Irish Junior Cycle mathematics curriculum: “Compare and order angles; recognise and describe angles as acute, right, obtuse, or reflex.”
Engagement & Motivation
Visually engaging through clean angle diagrams and alternating tasks. Learners feel a sense of quick progress due to the short, snappy format.
Error Opportunities & Misconceptions
- Confusing acute and obtuse angles visually.
- Over-relying on line orientation instead of degree measure.
- Misinterpreting reflex angles as smaller because of shape perspective.
Transferability / Real-World Anchoring
Highly transferable — applicable to geometry problems, design, construction, and interpreting angle-based diagrams in practical contexts.
Conceptual vs Procedural Balance
Conceptual focus — builds understanding of why an angle is larger or smaller based on measurement, rather than merely applying a rule.
Learning Objectives Addressed
- Identify and compare angle sizes using degree measures.
- Distinguish between acute, right, obtuse, and reflex angles.
- Develop visual fluency in recognising relative angle size.
- Strengthen reasoning about geometric relationships.
What Your Score Says About You
- Less than 5: You may be relying too much on visual shape rather than checking the degree measure.
- Between 6–7: You can compare simple angles but may mix up larger obtuse or reflex ones.
- Between 8–9: You have strong visual and numerical comparison skills.
- 10/10: Excellent mastery — you can confidently judge and describe angle sizes in any diagram.